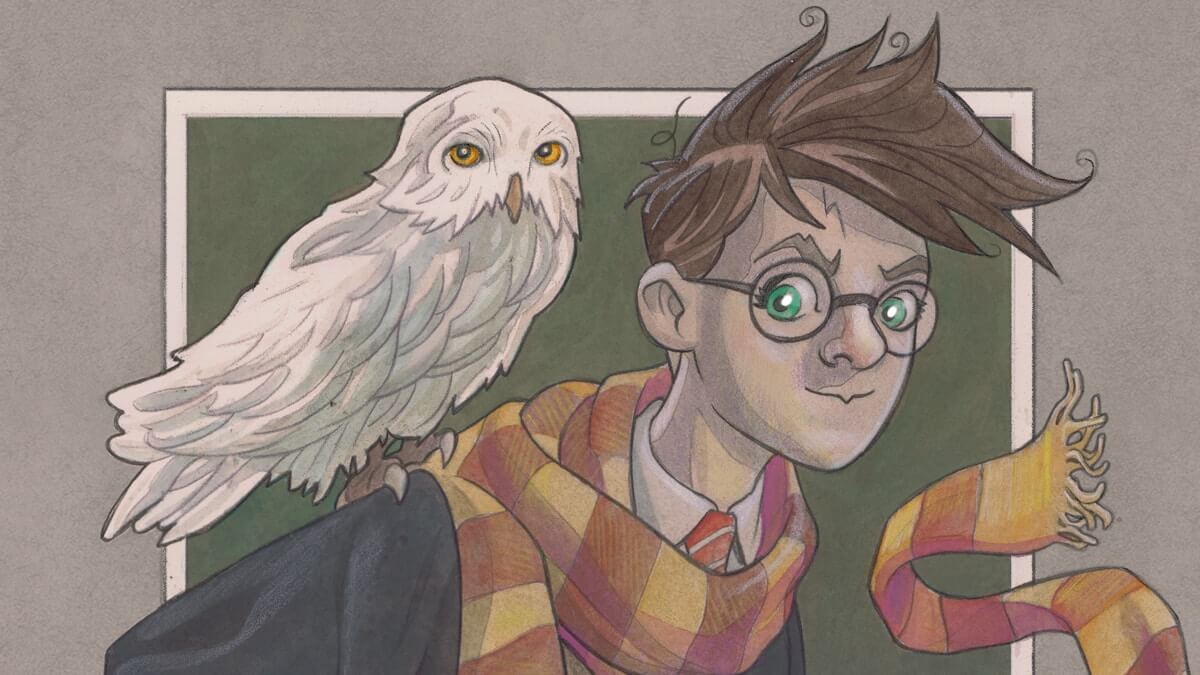
Harry Potter Time Lapse Video & Process
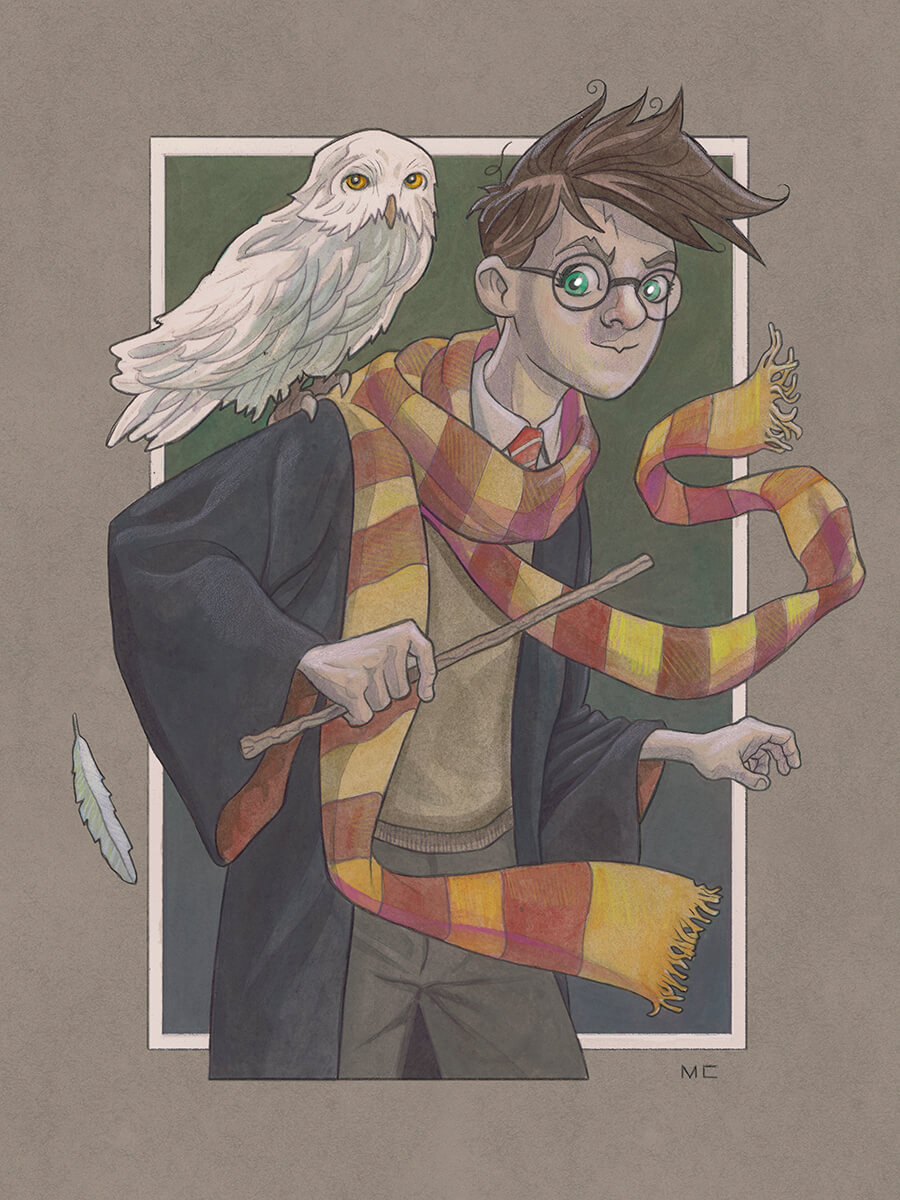
Every holiday I sit down and watch the Harry Potter films with my kids. My son especially has a love for The Boy Who Lived. This holiday was no different, and I found myself having an itch for doing some watercolor paintings. I’ve always been a fan of watercolor. I daresay I had an aptitude for it since college and it just fits my drawing style. I love how it dries quickly, applies easily, isn’t terribly messy and allows you to layer on color.
So naturally to scratch the itch I decided to do a Harry Potter painting. Using a few techniques that I picked up from Wylie Beckert I decided to jump right in.
I didn’t have a nice fancy watercolor stretcher like Wylie Beckert uses so I wet stretched my paper and used Gorilla Tape to stretch the paper. Most watercolor artists wet stretch then staple/gum tape their paper down. I absolutely abhor this method as it’s messy and time consuming. Plus stapling can ruin surfaces. With the Gorilla Tape I got a strong adhesion that didn’t ruin the paper when I pulled it off (there is a method to removing it though)
The Gorilla Tape worked somewhat, there was still a bit of warping of the paper but with the application of a blowdryer whenever I added quite a bit of wet to the paper it kept the paper fairly flat. Not as flat as stretching the paper with a proper paper stretcher but it wasn’t bad.
Once I had my paper stretched these are the basic steps of the painting.
- I did my initial sketch and printed it onto the paper before I stretched it. So I had a starting point.
- Then I laid down washes of ink and set the overall tonal quality of the piece.
Next I added some pencil linework to give the piece some weight. - After that I added washes of color over the tonal work and then went back with a black col-erase colored pencil and beefed up the lines again.
- The final touch was using a white coloring pencil to add highlights.
Once the painting was finished I did scan it and make adjustments in photoshop to the digital file. My scanner doesn’t tends to desaturate and blow out some colors so I beefed up the colors in photoshop and also cleaned it up a little for any future prints I might make.